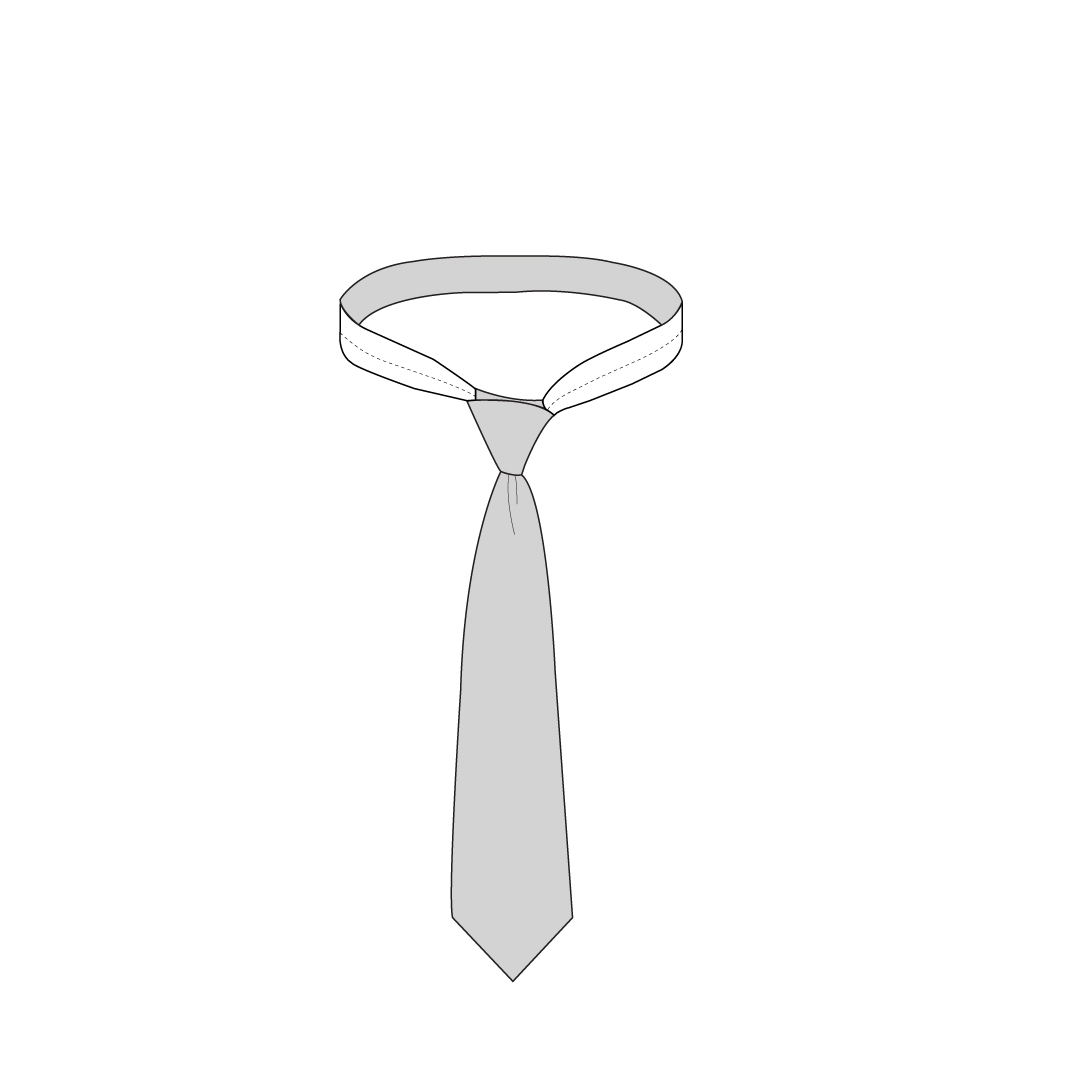
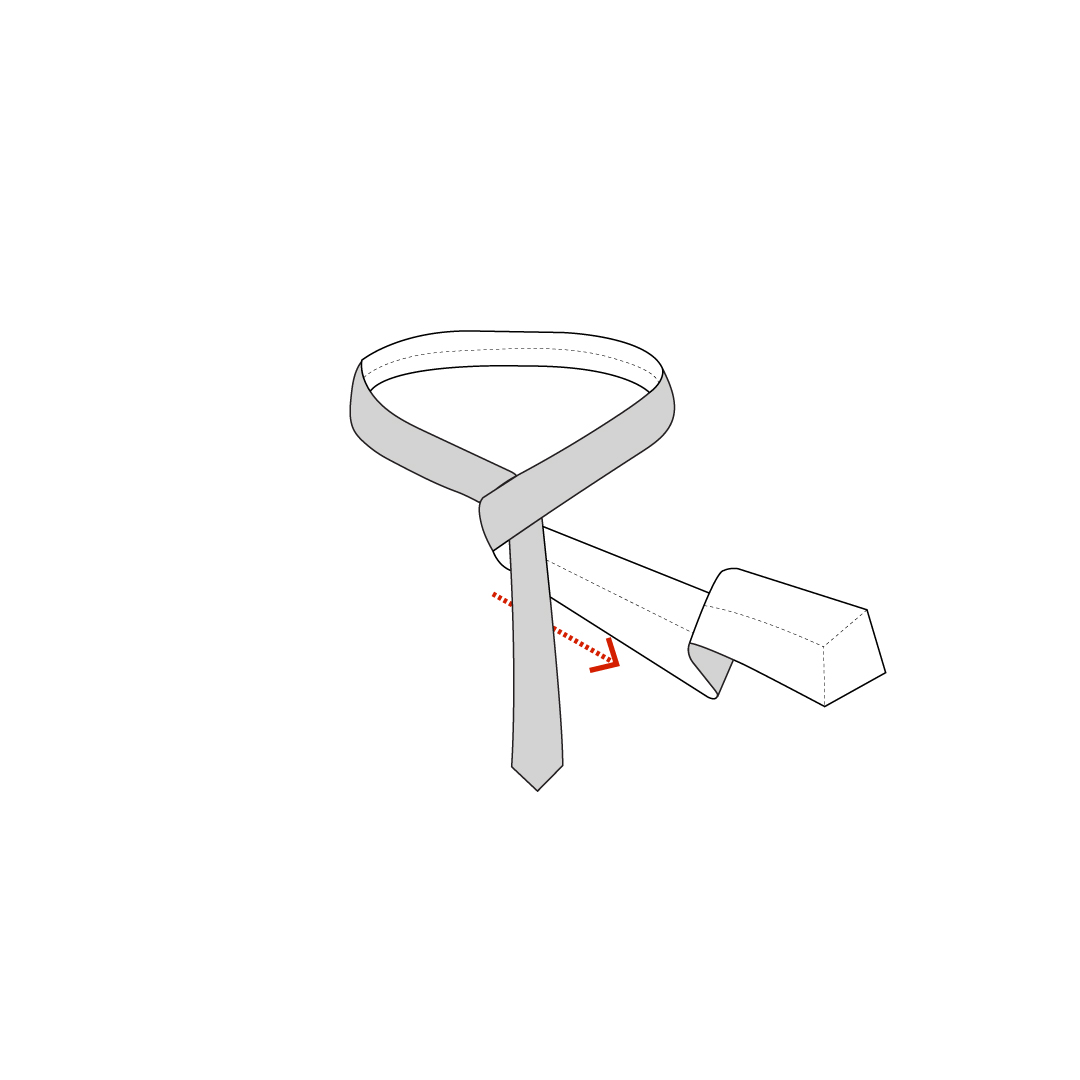
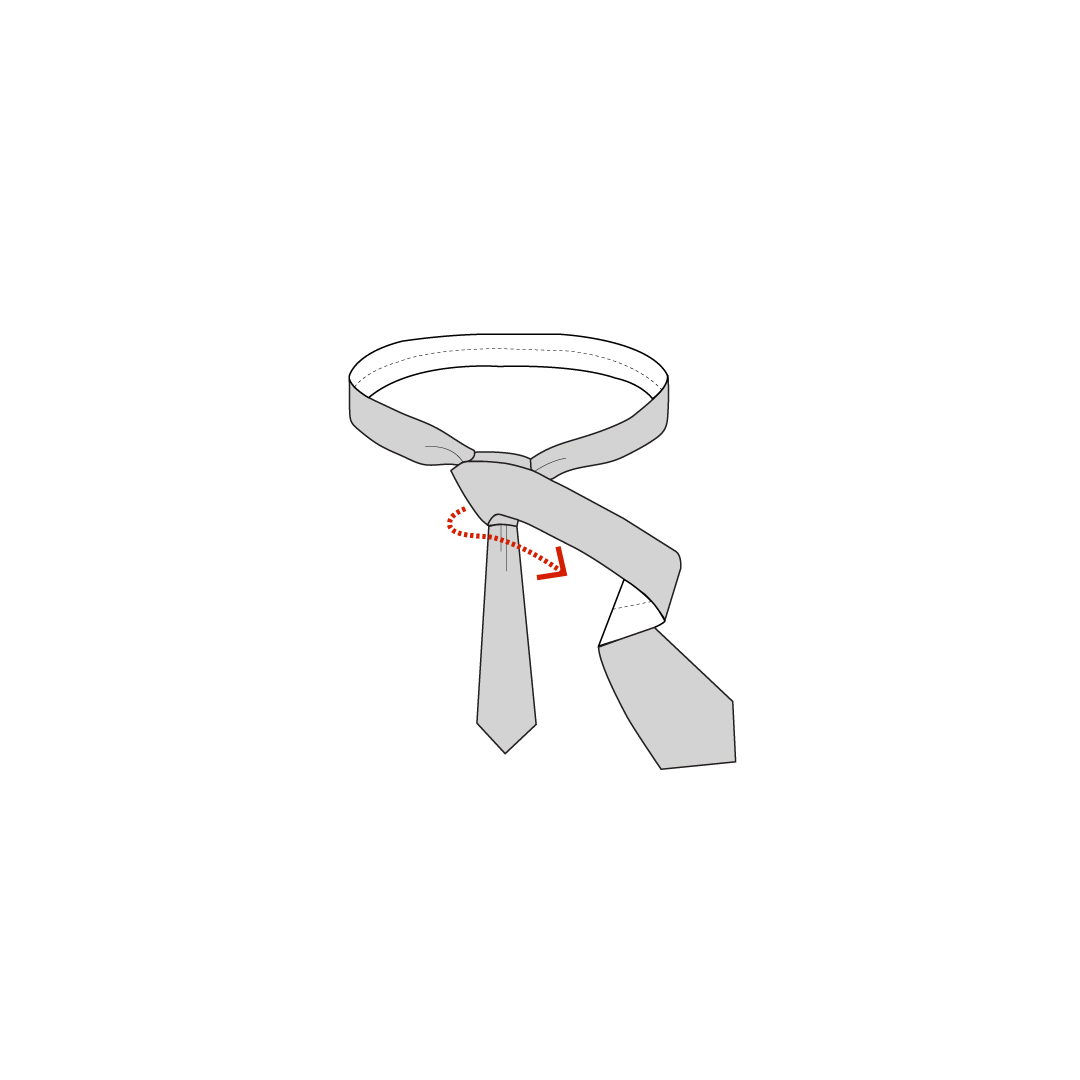
TIE YOUR TIE
Tie the perfect knot, every time, five knots every man should master. A visual guide to the Simple Knot, the Pratt, the Four in Hand, the Windsor & Half Windsor.
HOW TO:

the SIMPLE KNOT

The Simple Knot is a quick versatile style that’s sure to cut down time while you’re getting ready.
This style works well with light to heavy fabrics, both narrow and wide and pairs nicely with most collar styles.

STEP
01:

Step 1 Drape tie around your neck with the face of the tie is double the length of the thinner side.

STEP
02:

Step 1 Drape tie around your neck with the face of the tie is double the length of the thinner side.

STEP
03:

Step 1 Drape tie around your neck with the face of the tie is double the length of the thinner side.

STEP
04:

Step 1 Drape tie around your neck with the face of the tie is double the length of the thinner side.

STEP
05:

Step 1 Drape tie around your neck with the face of the tie is double the length of the thinner side.

STEP
06:

Step 1 Drape tie around your neck with the face of the tie is double the length of the thinner side.

the PRATT KNOT

The Pratt Knot is a tight medium sized knot that works well with both light and medium fabrics.
Choose this style if the Windsor Knot is too wide for your tastes. Classic, Semi-Spread and Wing Tip are the best collar types for this style.

STEP
01:

Step 1 Drape tie around your neck with the face of the tie is double the length of the thinner side.

STEP
02:

Step 1 Drape tie around your neck with the face of the tie is double the length of the thinner side.

STEP
03:

Step 1 Drape tie around your neck with the face of the tie is double the length of the thinner side.

STEP
04:

Step 1 Drape tie around your neck with the face of the tie is double the length of the thinner side.

STEP
05:

Step 1 Drape tie around your neck with the face of the tie is double the length of the thinner side.

STEP
06:

Step 1 Drape tie around your neck with the face of the tie is double the length of the thinner side.

STEP
07:

Step 1 Drape tie around your neck with the face of the tie is double the length of the thinner side.

STEP
08:

Step 1 Drape tie around your neck with the face of the tie is double the length of the thinner side.

the FOUR-IN-HAND

The Four in Hand Knot is your choice if you’re looking for a narrow clean look.
This knot works well with both skinny ties and heavier fabrics and is at home with Classic and Button-Down Collar styles.

STEP
01:
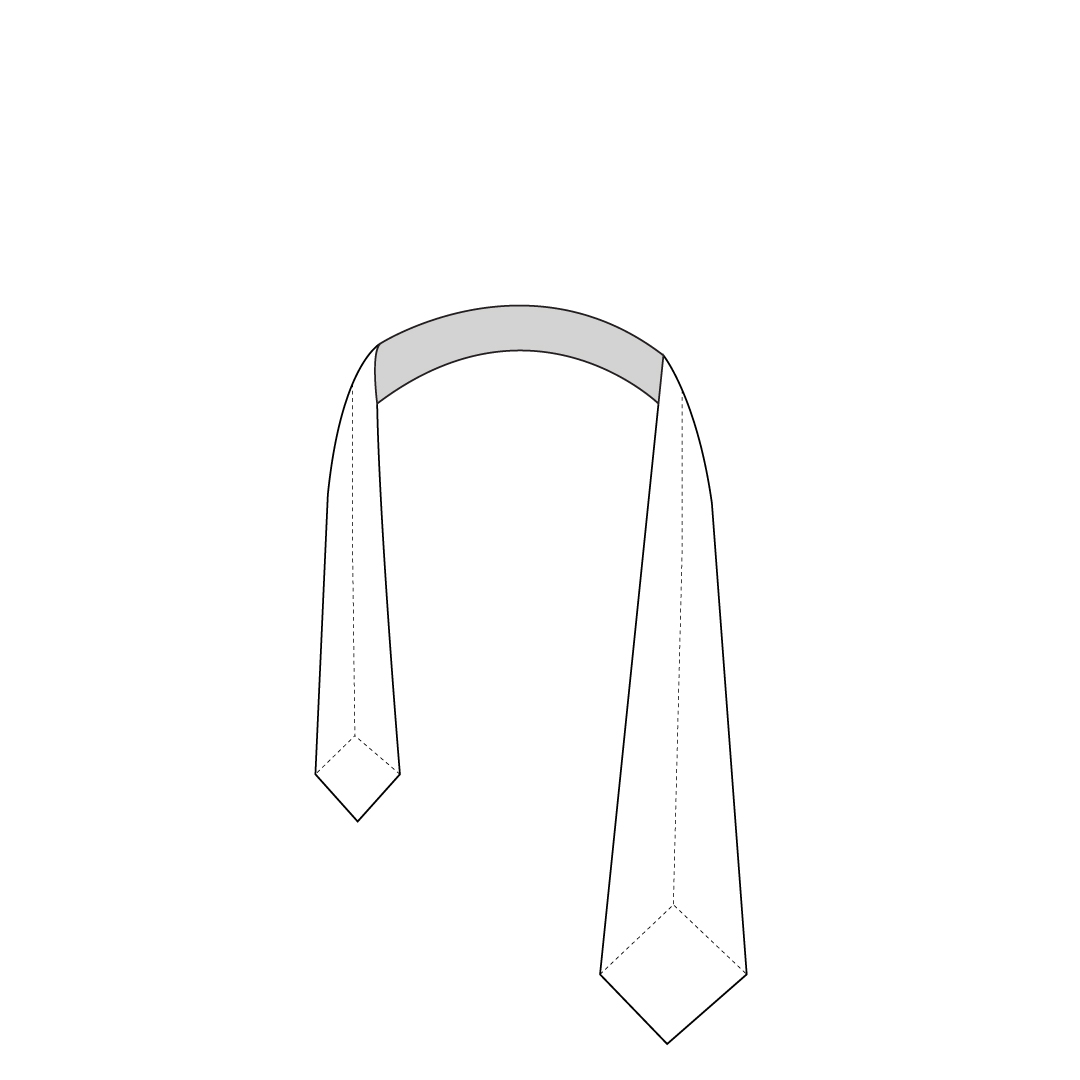
Step 1 Drape tie around your neck with the face of the tie is double the length of the thinner side.

STEP
02:

Step 1 Drape tie around your neck with the face of the tie is double the length of the thinner side.

STEP
03:

Step 1 Drape tie around your neck with the face of the tie is double the length of the thinner side.

STEP
04:

Step 1 Drape tie around your neck with the face of the tie is double the length of the thinner side.

STEP
05:

Step 1 Drape tie around your neck with the face of the tie is double the length of the thinner side.

STEP
06:

Step 1 Drape tie around your neck with the face of the tie is double the length of the thinner side.

STEP
07:

Step 1 Drape tie around your neck with the face of the tie is double the length of the thinner side.

the HALF WINDSOR KNOT

The Half Windsor Knot is Windsor’s little brother, not as hard to tie, but every bit as refined.
This style compliments wider ties made medium fabrics. Go for Classic and Spread collar styles with this knot.

STEP
01:
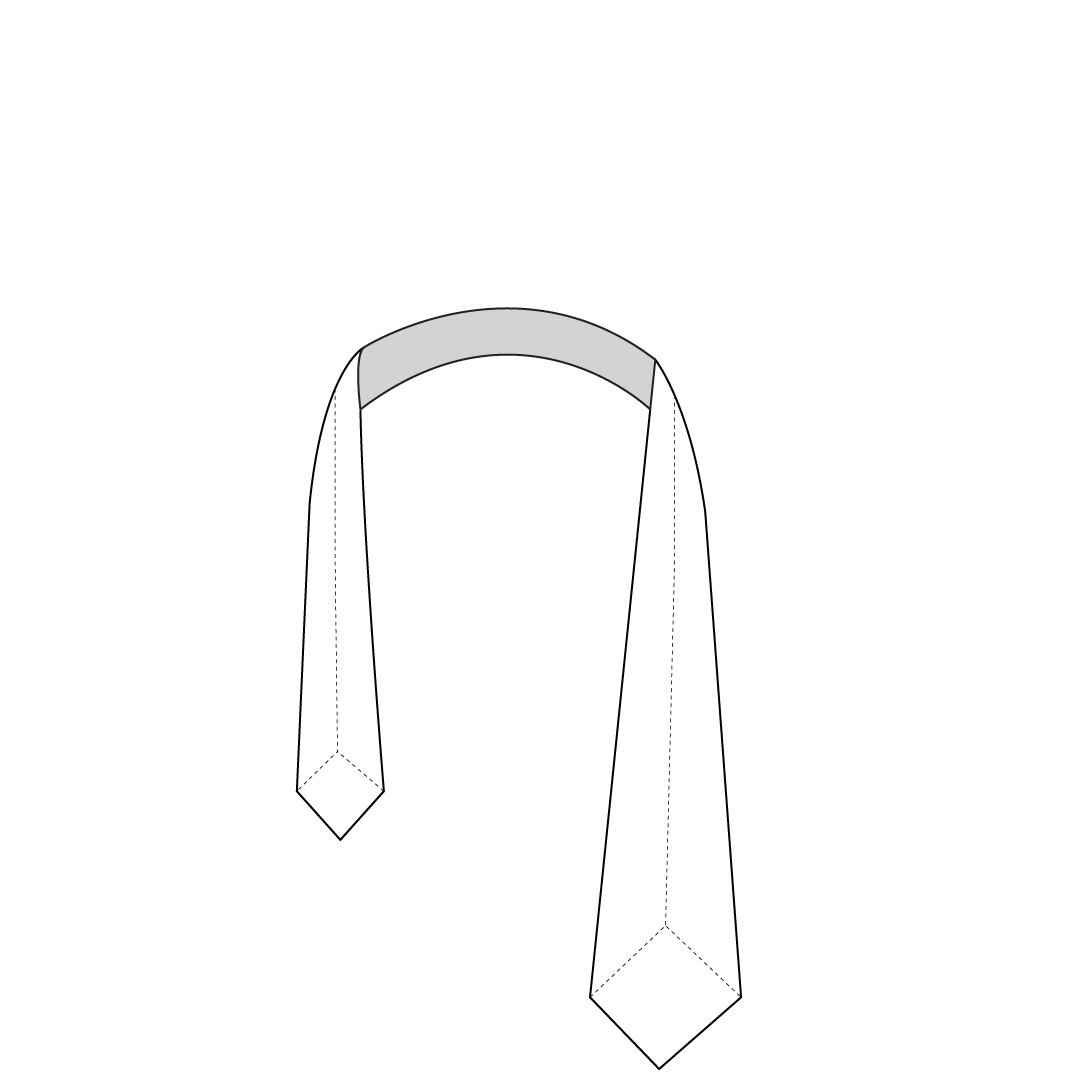
Step 1 Drape tie around your neck with the face of the tie is double the length of the thinner side.

STEP
02:

Step 1 Drape tie around your neck with the face of the tie is double the length of the thinner side.

STEP
03:

Step 1 Drape tie around your neck with the face of the tie is double the length of the thinner side.

STEP
04:

Step 1 Drape tie around your neck with the face of the tie is double the length of the thinner side.

STEP
05:

Step 1 Drape tie around your neck with the face of the tie is double the length of the thinner side.

STEP
06:

Step 1 Drape tie around your neck with the face of the tie is double the length of the thinner side.

STEP
07:

Step 1 Drape tie around your neck with the face of the tie is double the length of the thinner side.

STEP
08:

Step 1 Drape tie around your neck with the face of the tie is double the length of the thinner side.

STEP
09:

Step 1 Drape tie around your neck with the face of the tie is double the length of the thinner side.

the WINDSOR KNOT

The Windsor Knot is thick, wide and triangular. This should be your knot of choice when you’re looking to make a good first impression.
This style works with spread collar shirts

STEP
01:

Step 1 Drape tie around your neck with the face of the tie is double the length of the thinner side.

STEP
02:

Step 1 Drape tie around your neck with the face of the tie is double the length of the thinner side.

STEP
03:

Step 1 Drape tie around your neck with the face of the tie is double the length of the thinner side.

STEP
04:

Step 1 Drape tie around your neck with the face of the tie is double the length of the thinner side.

STEP
05:

Step 1 Drape tie around your neck with the face of the tie is double the length of the thinner side.

STEP
06:

Step 1 Drape tie around your neck with the face of the tie is double the length of the thinner side.

STEP
07:

Step 1 Drape tie around your neck with the face of the tie is double the length of the thinner side.

STEP
08:

Step 1 Drape tie around your neck with the face of the tie is double the length of the thinner side.

STEP
09:

Step 1 Drape tie around your neck with the face of the tie is double the length of the thinner side.

STEP
10:

Step 1 Drape tie around your neck with the face of the tie is double the length of the thinner side.

STEP
11:

Step 1 Drape tie around your neck with the face of the tie is double the length of the thinner side.

READ THE NEXT ARTICLE: DETAILS OF A DRESS SHIRT > >

Claim your 10% off
get 10
%off